Traditional Practices
Hardening and tempering a spring can be a tricky problem for a beginner, or even for an experienced gunsmith if the part is small or intricate. The first step, of course, is to clean up the spring, removing all sprue and polishing the surfaces, particularly the outer limb, and making sure there are no machining or scratch marks running across the spring, which can act as focal points for stresses. For this job, after rough filing and grinding, I have a series of Lexan wheels which are mounted in a lathe or drill press and run at slow speed with wet carborundum 220 grit applied to the surface. These cut very well but are controllable and leave a smooth surface. Thin disks of Lexan with grit applied to the sides make a good tool for smoothing the insdies of springs.
Most cast springs are made from 6150 steel and are hardened by heating to a uniform red-orange color and plunging them into a cooling bath. Water or oil can be used, but I prefer oil as water cools so quickly it can induce tiny surface fractures and weaken the piece. Since the spring will be tempered to a relatively high heat, initially making it glass-hard serves little pupose. After hardening, the spring must be handled carefully as it is very brittle at this stage.
The two methods of tempering usually discussed are heating to a color or burning in oil. If the part is polished and reheated, a colored oxide coat will be formed which can be used to estimate the temperature. It is often hard to accurately gauge the colors, and in small or intricate pieces, it is difficult to get the piece to temper evenly. Also, rapid and uneven cooling can put strains back into the metal. The second method which has been used to good effect involves placing the spring in a small pan containing a few ounces of oil, and then heating the oil until it literally burns off, engulfing the part in a smoky blaze. Needless to say, this is very messy, and it can also result in uneven tempering.
A third method which was recommended to me was placing the part in melted lead. Pure lead melts at 615 degrees Farenheight (324 degrees C) and can be heated considerably above this point. A high-tempeature thermometer can be used to bring the melt to the correct tempering temperature. I have not tried this method, but if one already has a casting setup and the thermometer, it might be a good way to go. Being in the middle of constructing a new lock and wanting a better way of tempering the main and frizzen spring, I adapted a technique used by watch and clock makers for heat treating delicate or intricate parts. Besides - I wanted an excuse to experiment.
Sand-Bath Method
 A 'boat' is formed from a sheet of copper roofing flashing,
leaving 'ears' at the corners which support the boat in a small enclosure made from insulating bricks.
The boat is filled with clean silica (ordinary) sand (do not use white marine aquarium sand!), and the parts
are buried midway down, submerged but not touching the bottom. Some scrap copper strips can be placed
vertically, lengthwise, to help distribute the heat.
A 'boat' is formed from a sheet of copper roofing flashing,
leaving 'ears' at the corners which support the boat in a small enclosure made from insulating bricks.
The boat is filled with clean silica (ordinary) sand (do not use white marine aquarium sand!), and the parts
are buried midway down, submerged but not touching the bottom. Some scrap copper strips can be placed
vertically, lengthwise, to help distribute the heat.
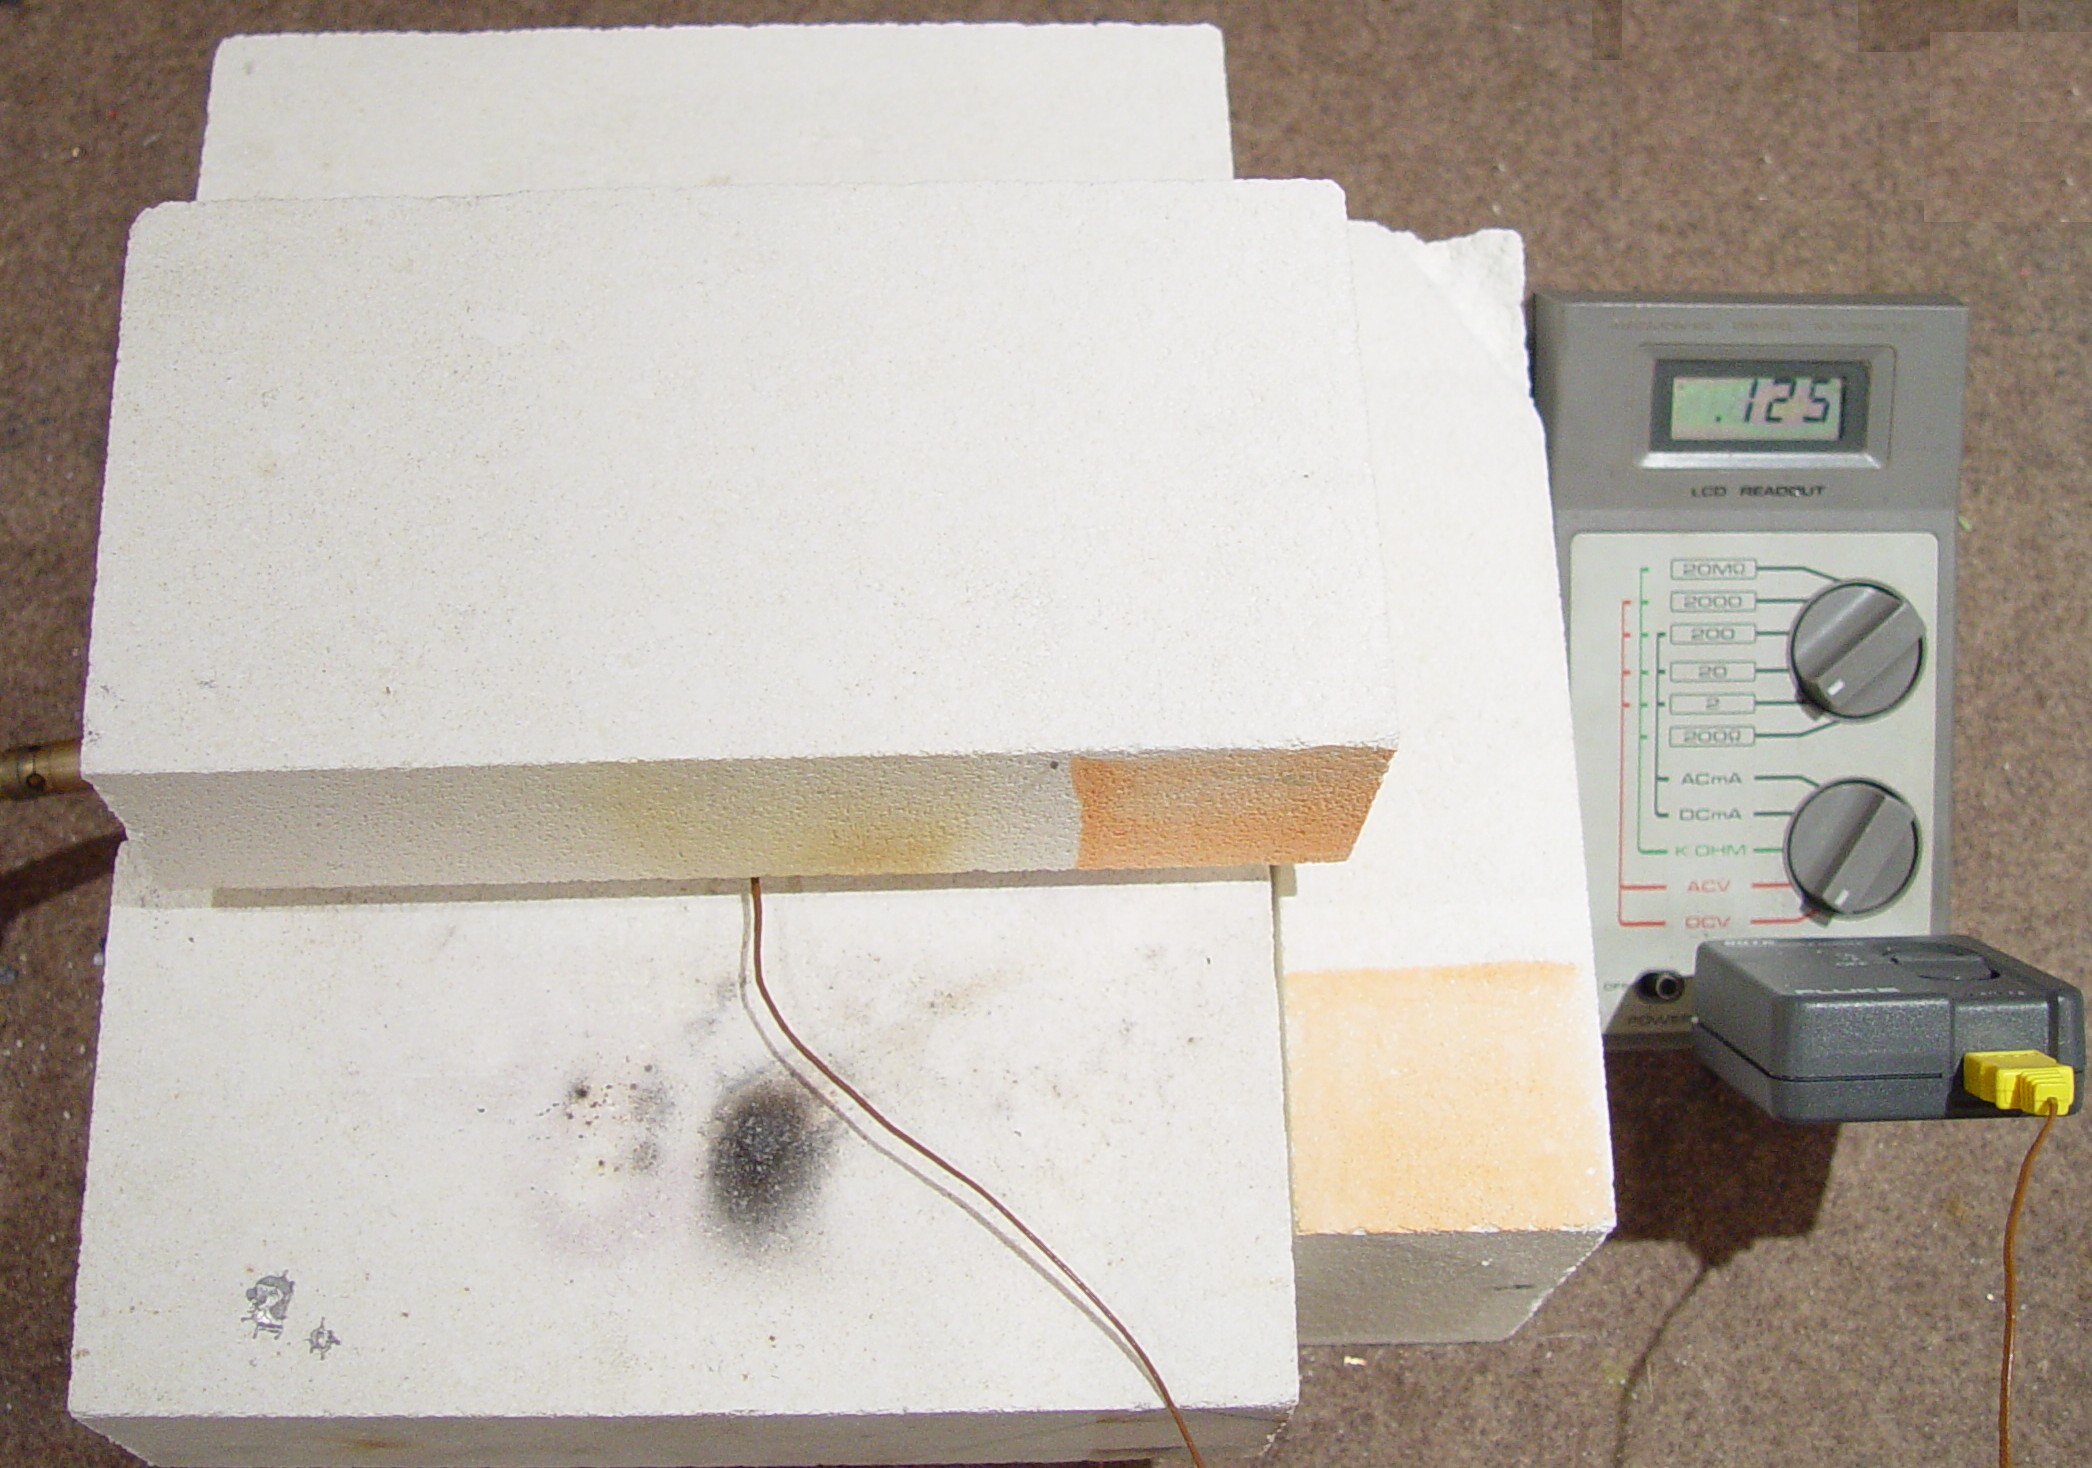 A single brick is placed on top of the
boat, which seals it and leaves a small gap around the edge of the oven for the heat to rise. A propane torch
is gently played along the bottom of the boat until the temperature rises to about 10 degrees less than the
final tempering temperature, and then the heat is removed and the assembly is left to cool undisturbed. For
6150 springs, tempering to 750 degrees gives a tough, strong spring, tempering to 900 degrees gives a fairly
weak one; except in unusual cases, I temper to 750 degrees.
A single brick is placed on top of the
boat, which seals it and leaves a small gap around the edge of the oven for the heat to rise. A propane torch
is gently played along the bottom of the boat until the temperature rises to about 10 degrees less than the
final tempering temperature, and then the heat is removed and the assembly is left to cool undisturbed. For
6150 springs, tempering to 750 degrees gives a tough, strong spring, tempering to 900 degrees gives a fairly
weak one; except in unusual cases, I temper to 750 degrees.
Of course, you don't have to get this fancy; since nothing toxic or messy is used, any hot surface can be employed, such as a kitchen stove, barbecue grill or a hotplate. I would do this on my kitchen range except my wife forbids my setting foot in there. The main thing to have is a heat-conductive medium (sand) surrounding the part which evenly distributes the heat, and a way to monitor the temperature of the medium.
The little brown wire buried in the sand in the first picture is a "Type-K" thermocouple, and they are available from a number of sources; I found some new, complete units on eBay for less than $40. They are good up to 2000 degrees and can also be used for measuring hardening temperature as well. For very high heat applications, you should use the probes with fiberglass insulation; probes with teflon will burn at those temperatures, although the readings will not be affected.
This simple arrangement, which took me less than an afternoon to set up, has taken the 'stress' out of my spring making and made my (lock building) life a lot easier.
